This recipe is a paid collaboration with Natures Charm, all views are my own.
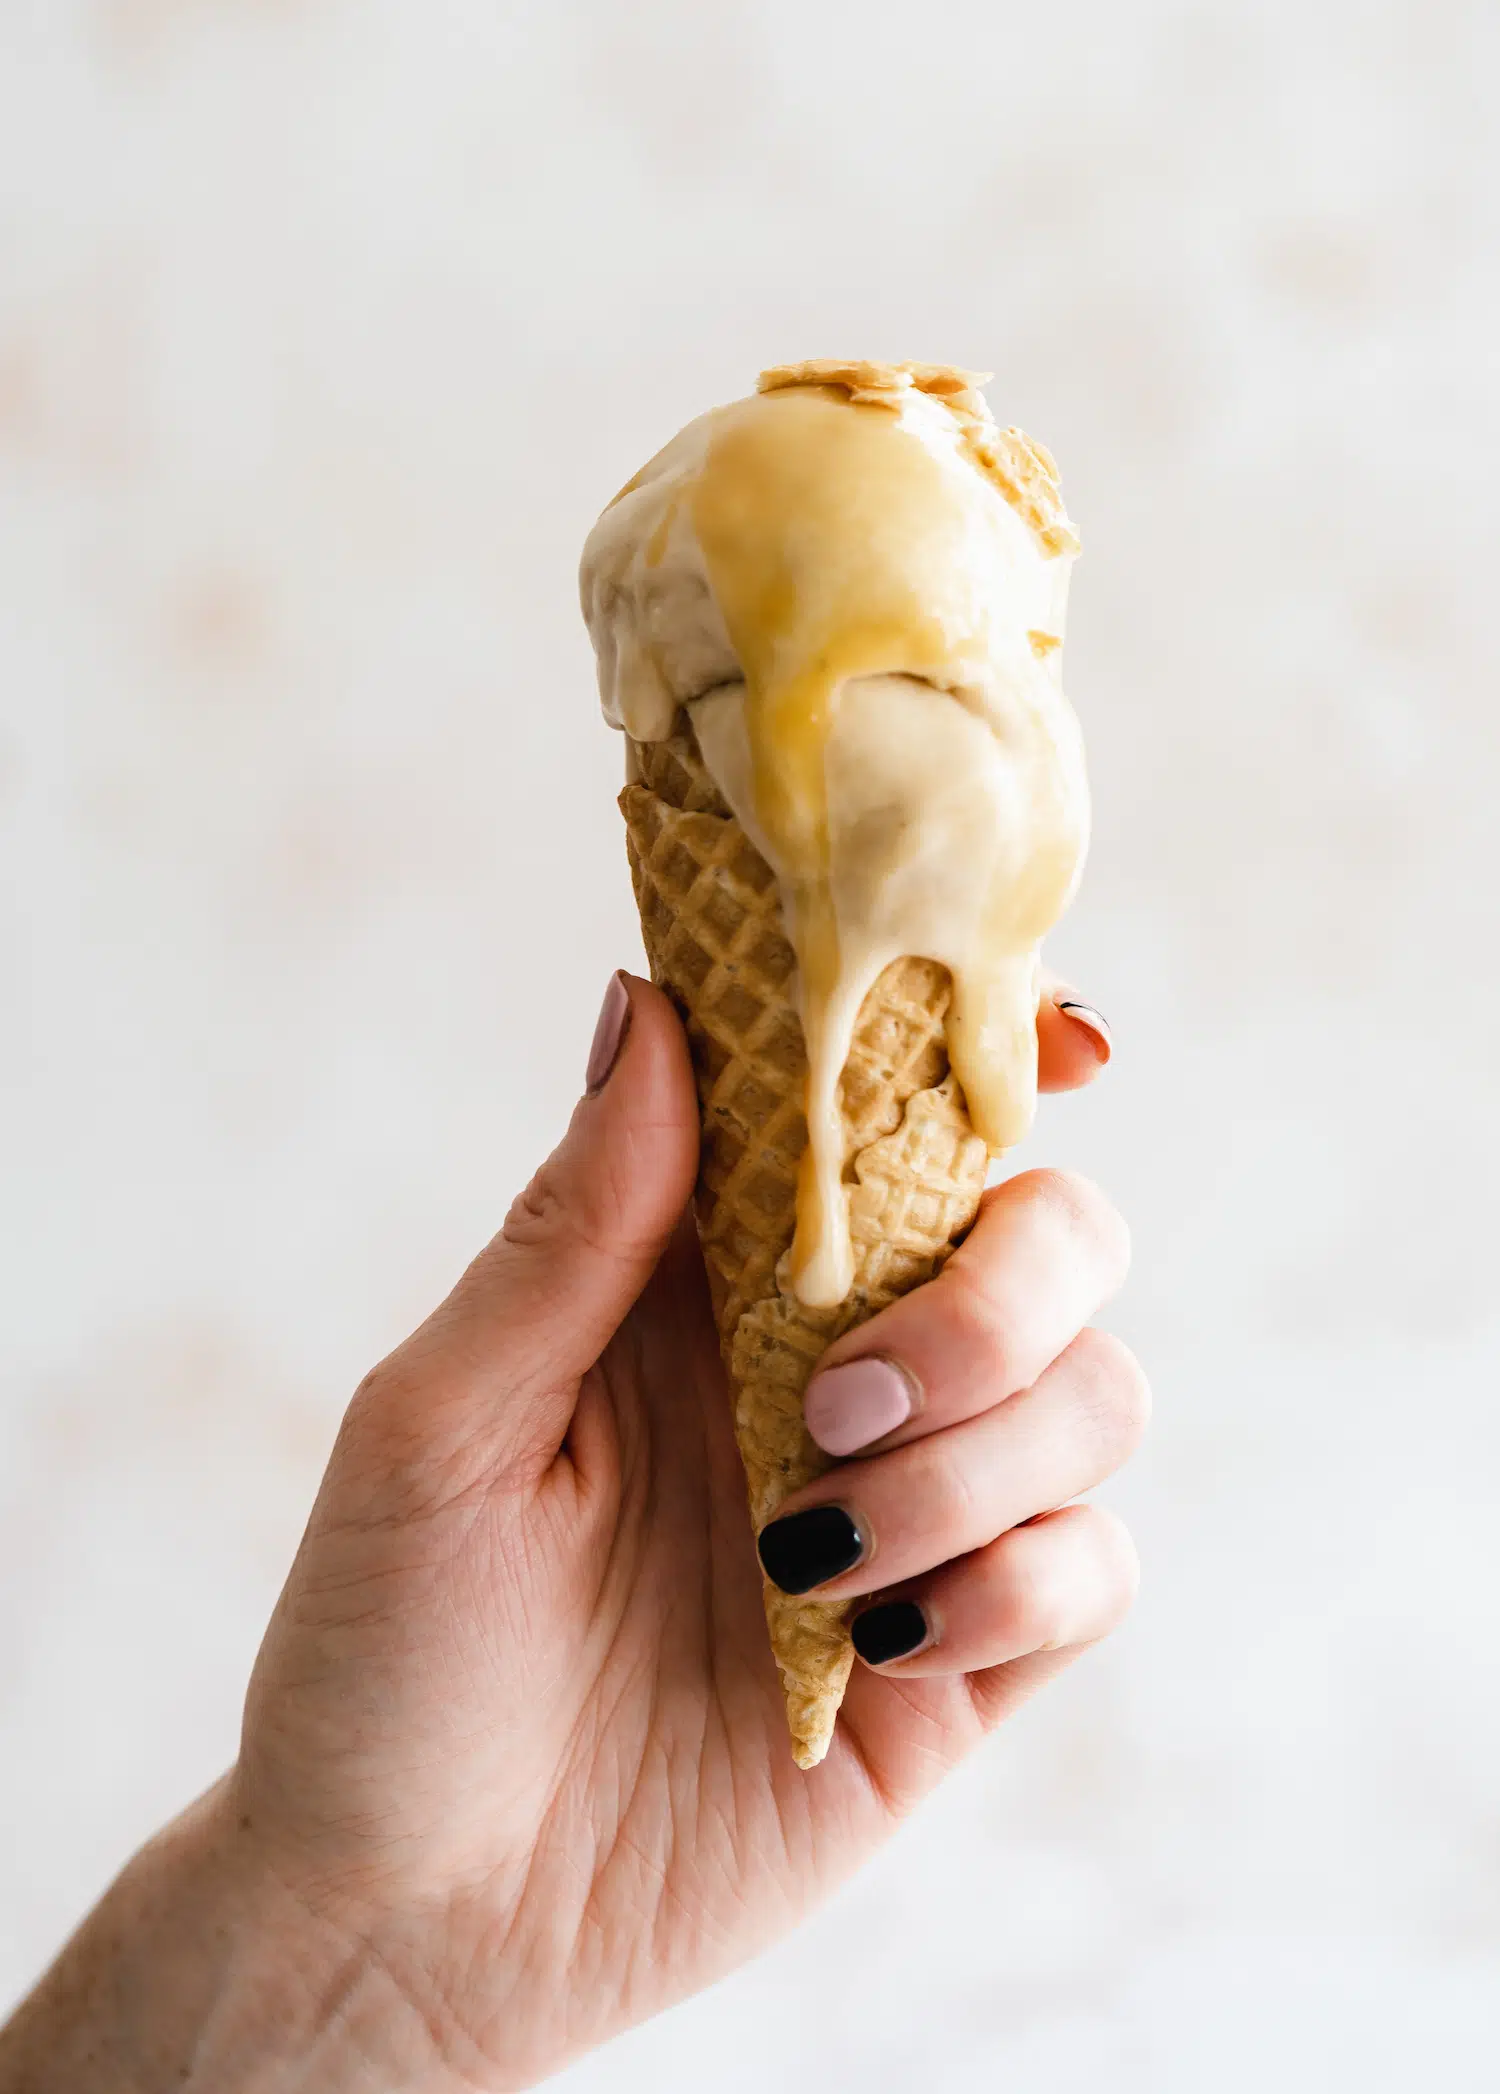
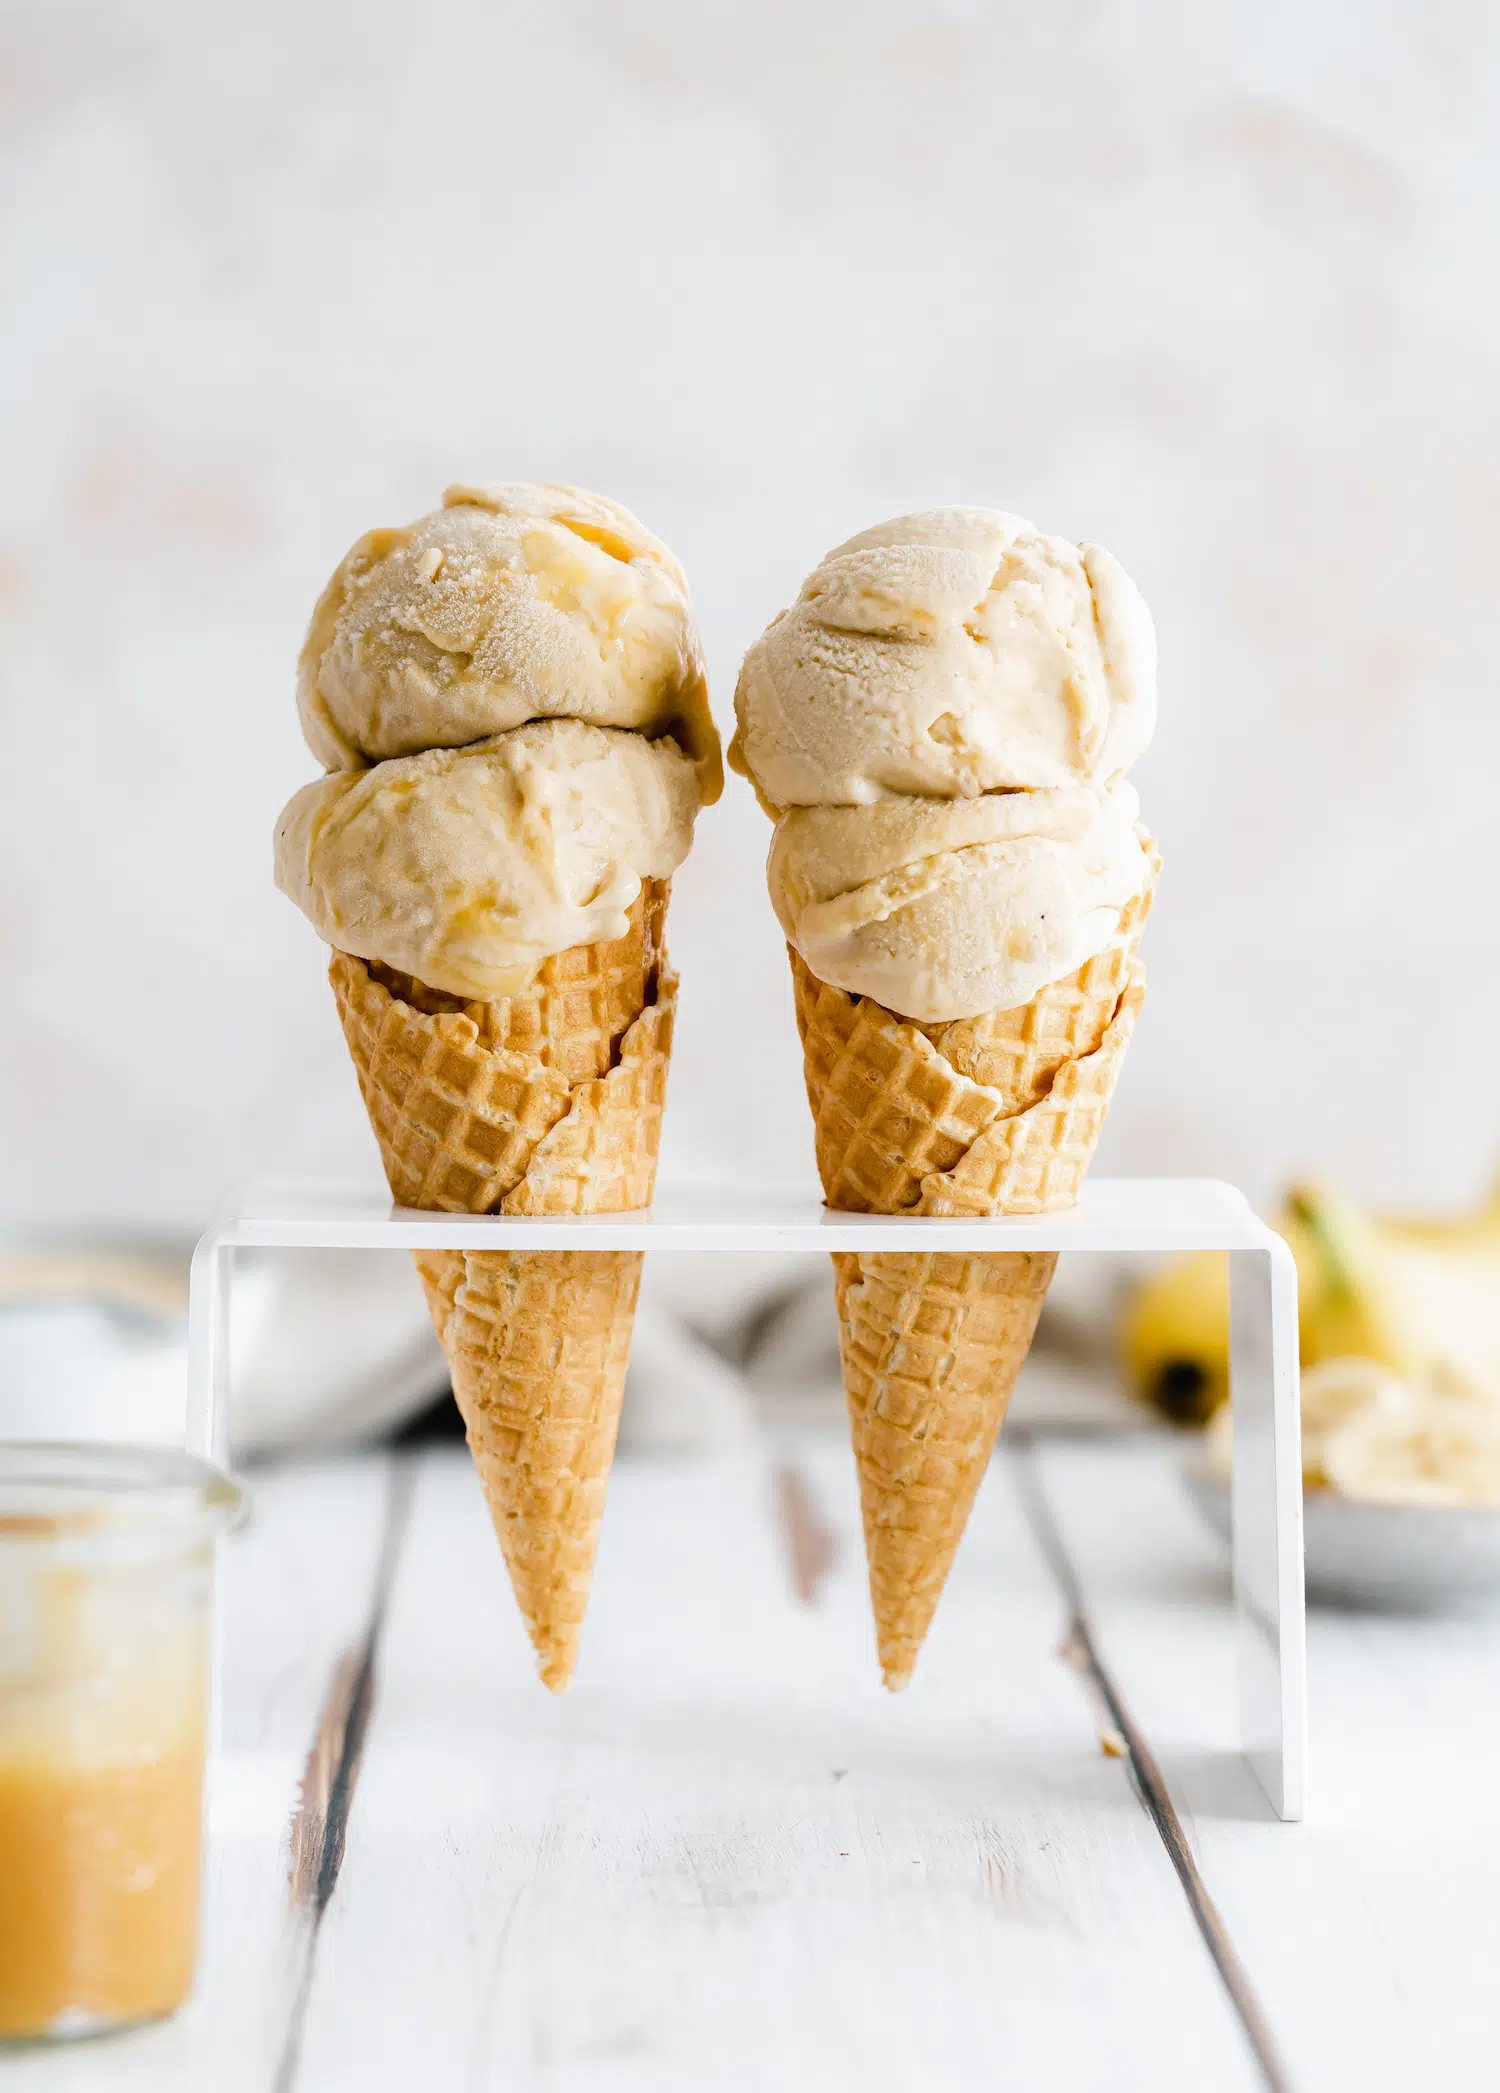
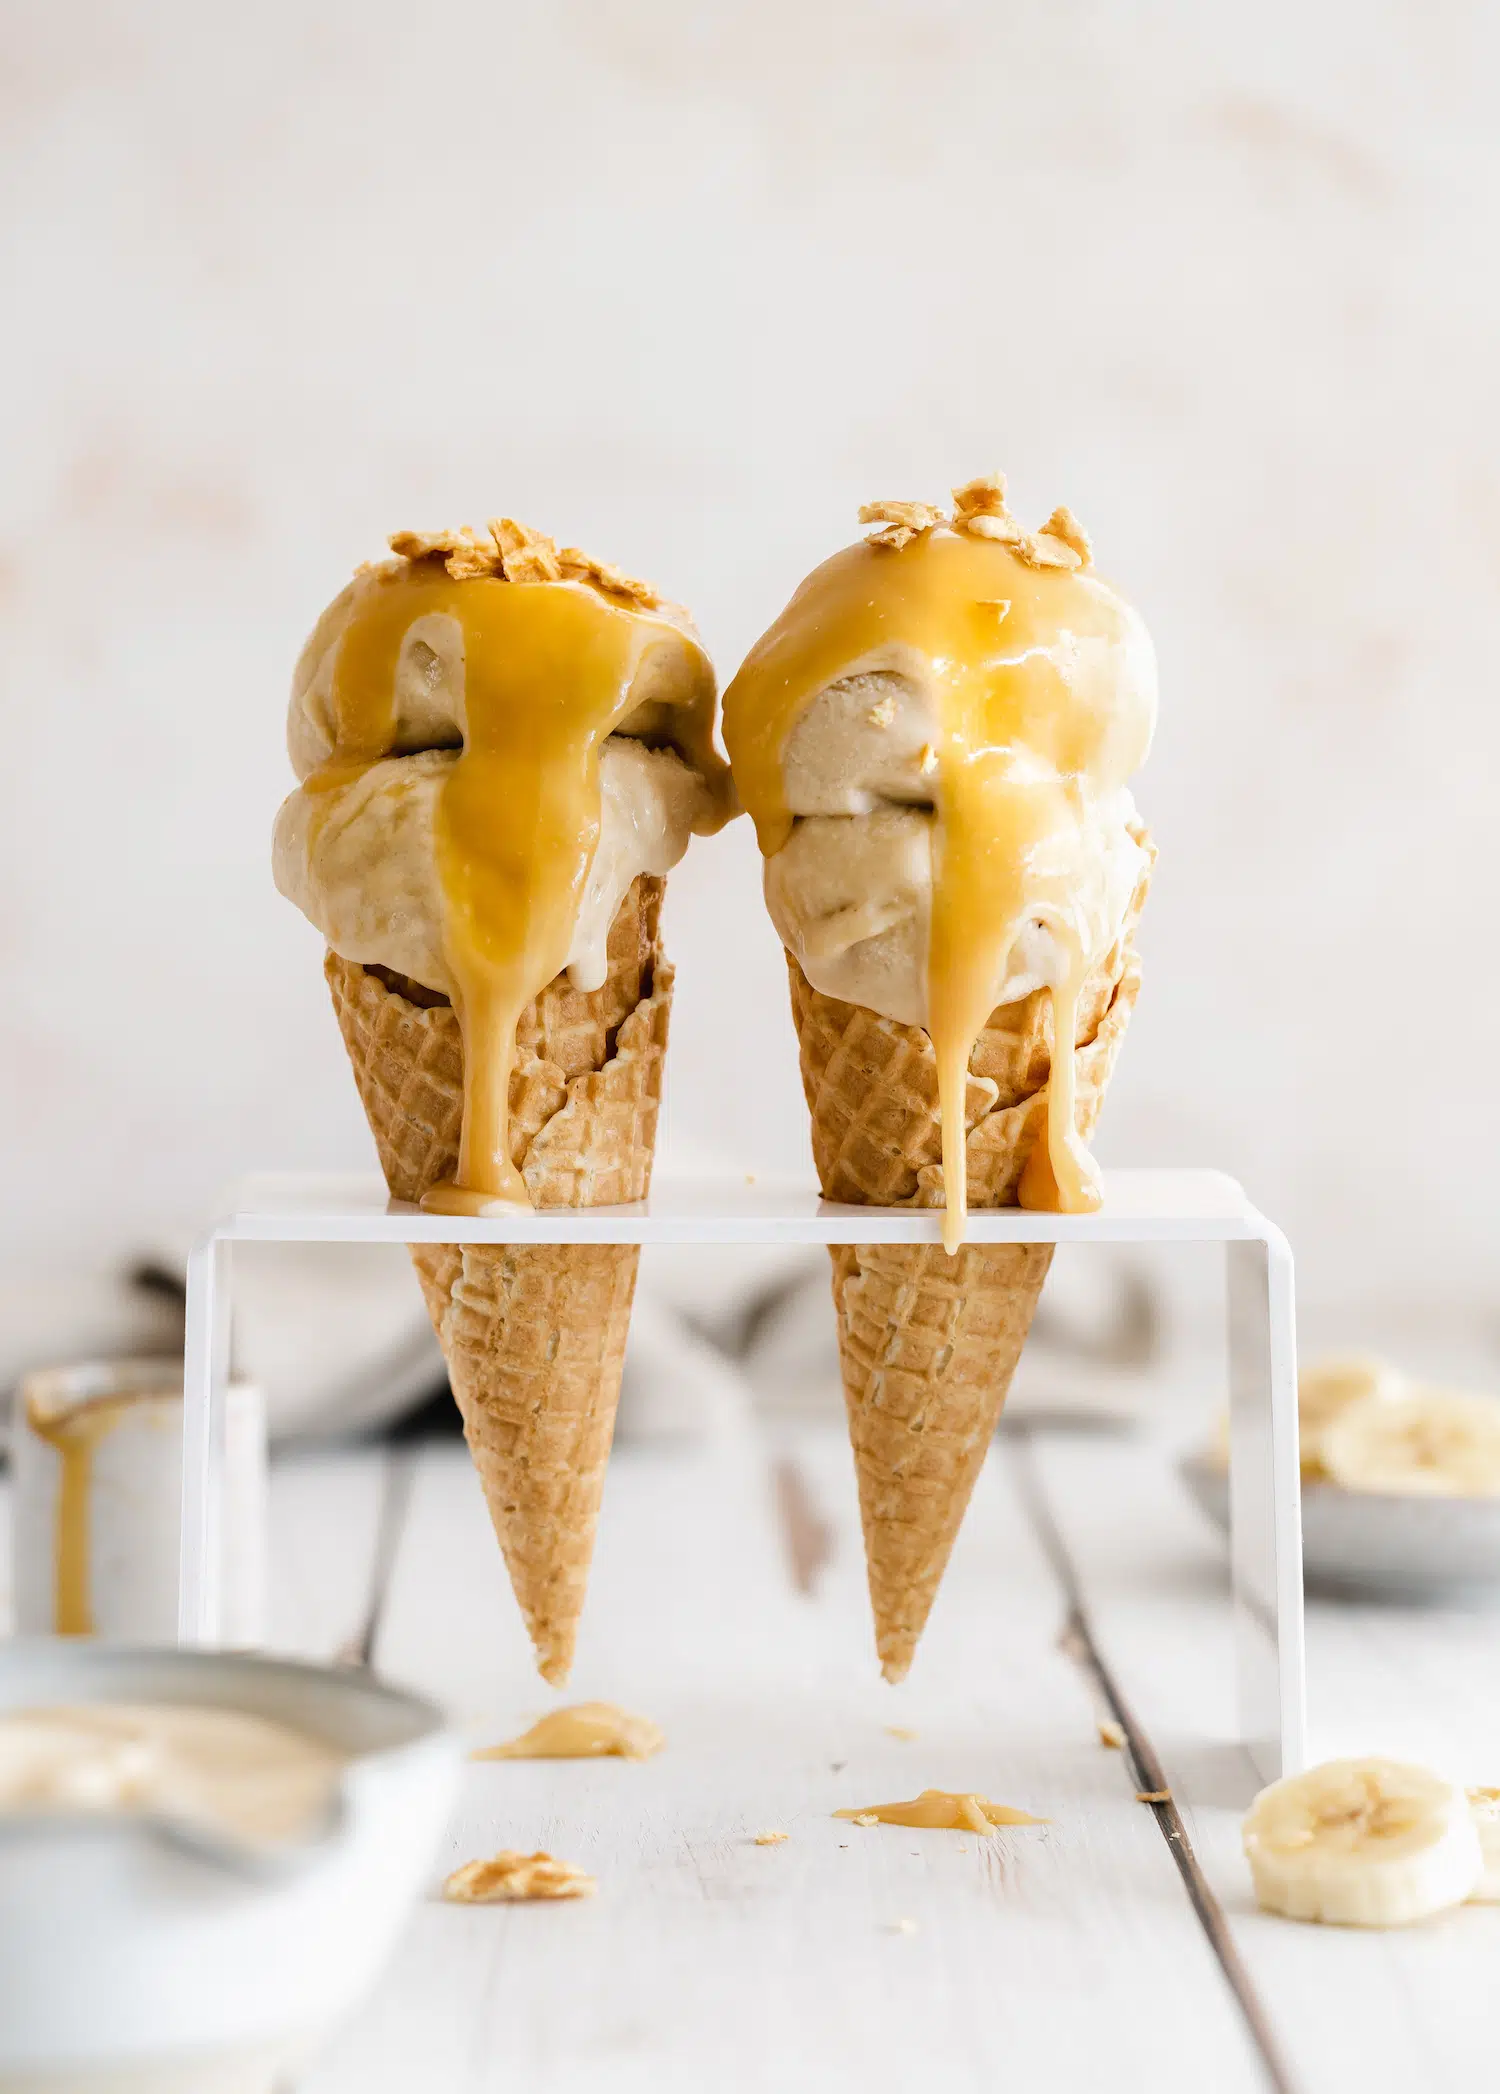
Have you ever tried vegan banana ice cream? I'm not talking "nice cream" the kind that is made by whizzing up frozen banana, I mean like real banana ice cream? Trust me, you are in for a treat! This vegan banana ice cream recipe is made by caramelizing banana for an intensely sweet and toasty flavor, which pairs so well with the salted caramel sauce, it's literally banoffee pie in a dairy-free ice cream form.
What is crème Anglaise?
Classic French ice cream recipes are often made with a base of crème anglaise, or "English cream". Crème anglaise is essentially a pouring custard, which is used as a sauce accompaniment to classic desserts, or commonly as the base for rich and creamy ice cream. Of course, just like regular custard, crème anglaise is not vegan by any stretch of the imagination. Like custard, it is made using eggs and dairy in the form of cream and milk.
I created this recipe in collaboration with Nature’s Charm Vegan Products, using their vegan coconut custard (crème anglaise) and sweetened condensed coconut milk as the main ingredients. These ingredients create the perfect base for this rich and creamy ice cream. Complete by swirling their coconut salted caramel sauce, I could literally eat that stuff straight off the spoon!
How to make vegan banoffee ice cream
Caramelize the bananas
First off, the bananas you use will have a major impact on the flavor and sweetness that comes through. So before you think about caramelizing them, make sure that your bananas are spotty and ripe. It helps if you buy them a few days before you plan on making this recipe so that you can leave them sitting on your counter to ripen up a bit first.
Next, peel the bananas and slice them into coins or chunks, however, you'd like to just keep them relatively small. Add a little bit of cooking oil (vegan butter works too) to a saucepan and wait for that to get nice and hot. Next, add your sliced banana along with one tablespoon of the sweetened condensed coconut milk and stir, stir, stir!
But seriously, keep stirring and tossing them in the pan to prevent them from burning to the bottom. You want them to be ever so slightly browned, not burnt! Once you've cooked them for three to four minutes take them off the heat.
Blend the ingredients
Next add those caramelized bananas to your blender along with the rest of that sweetened condensed coconut milk, the vegan coconut custard, and vanilla extract. Blend those for a couple of minutes until creamy and smooth. If the mixture is a little warm, allow it to cool to room temperature before heading on to the next step.
Churn the ice cream
Add the mixture to your ice cream maker and churn according to the manufacturer's instructions, mine usually takes about 30-40 minutes. Once churned, turn off the machine and gently fold in about two-thirds of the salted caramel coconut sauce.
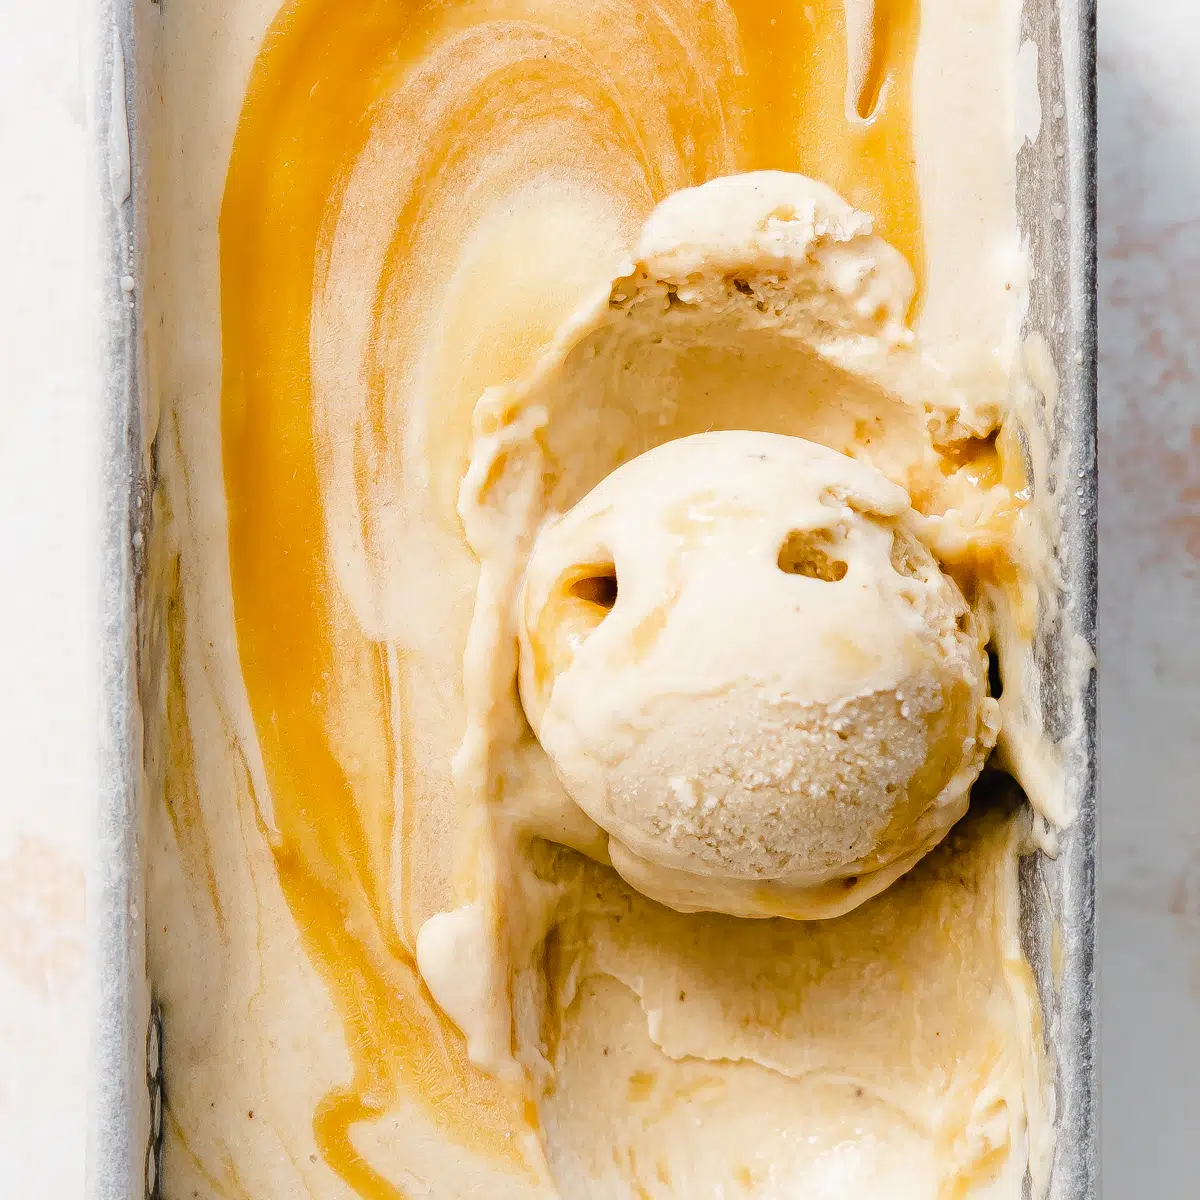
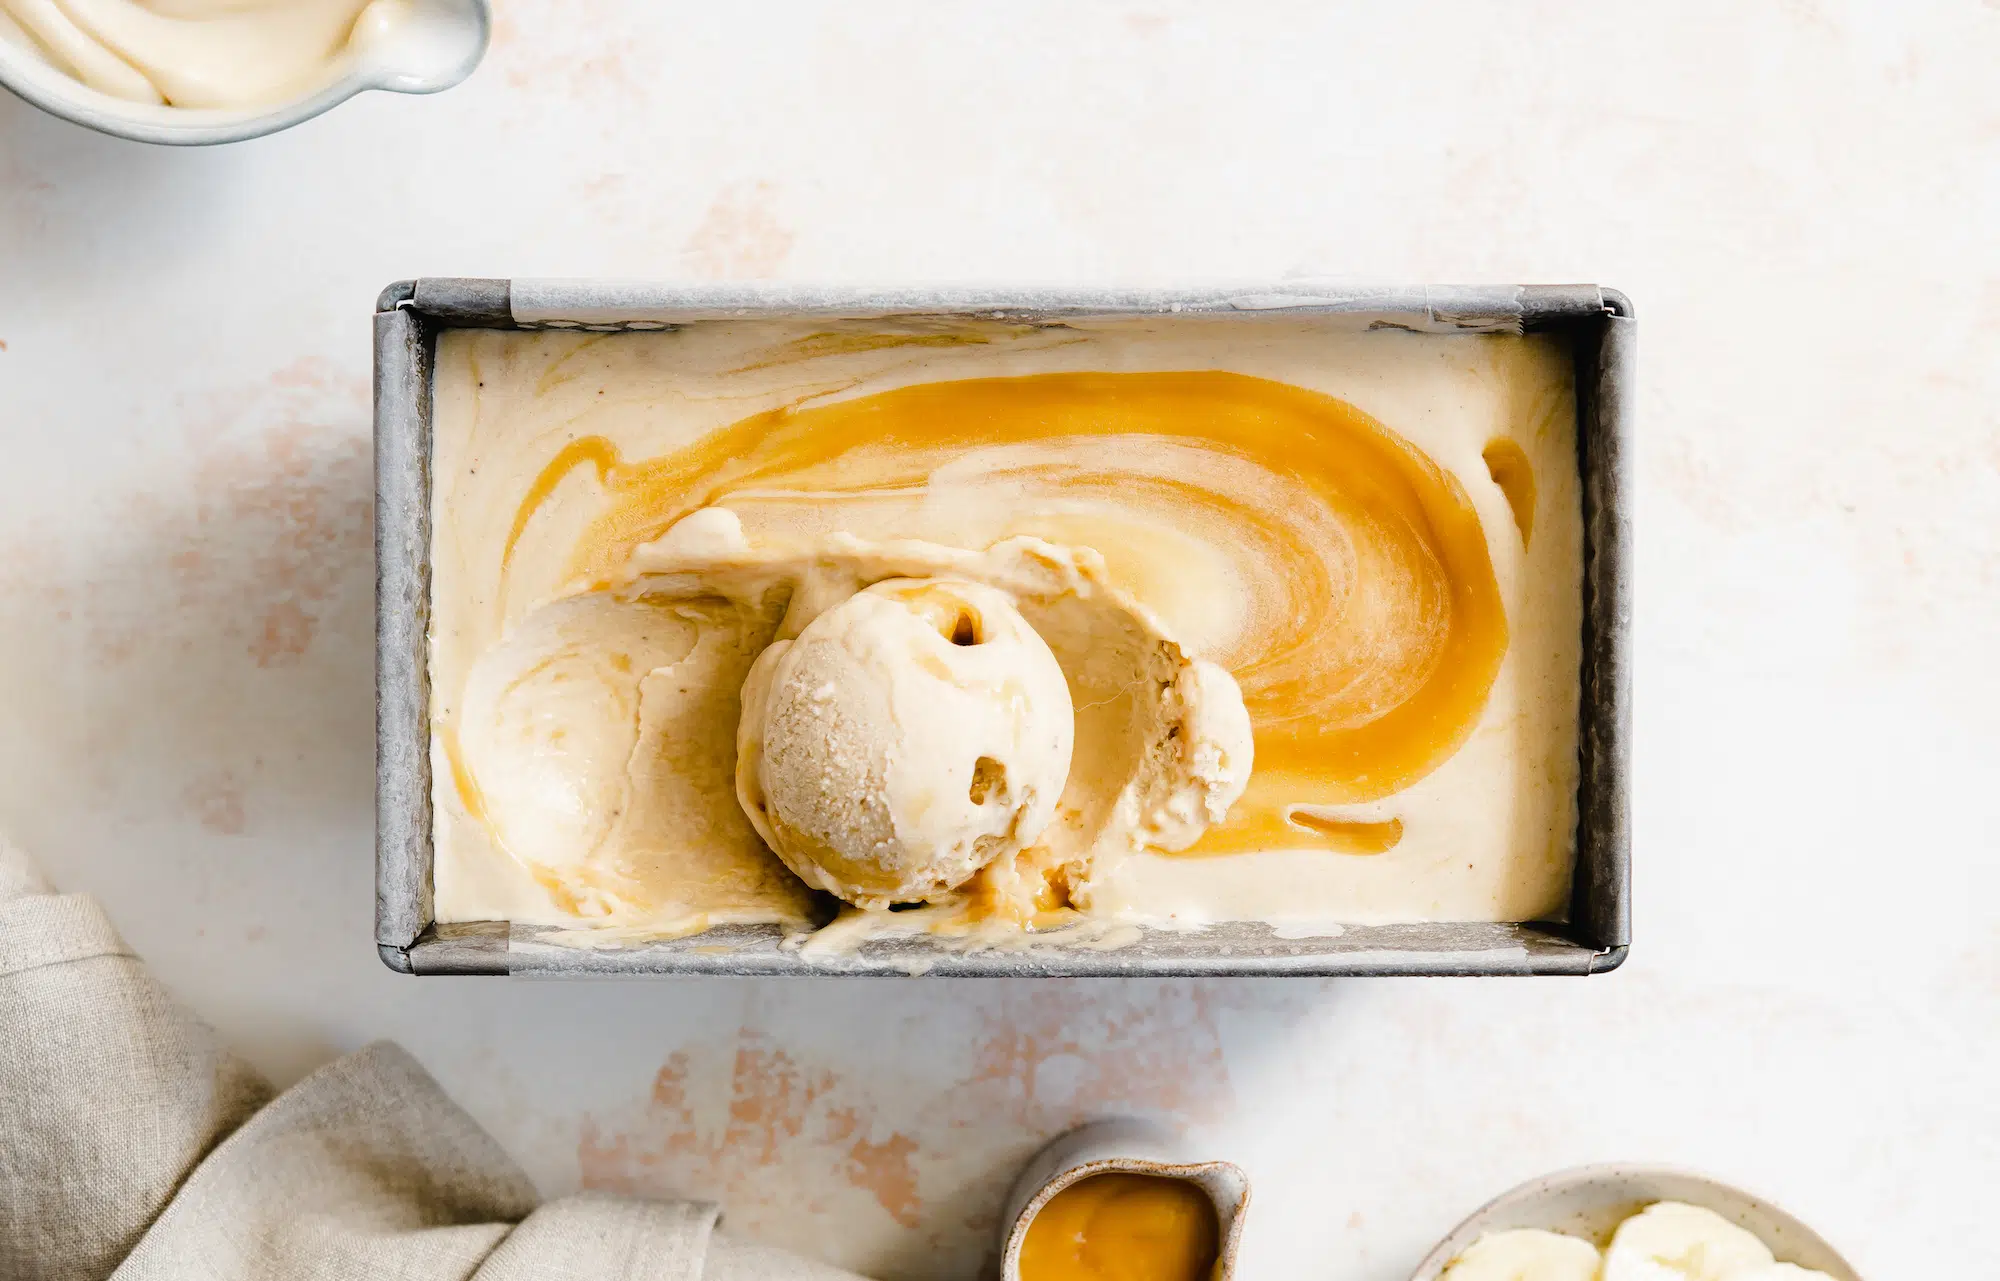
Transfer the ice cream mixture to a loaf pan lined with parchment paper and swirl the remaining salted caramel sauce on top. Cover and freeze for a minimum of 2 hours. Remove the ice cream from the freezer about 15 minutes before serving to allow it to thaw slightly and enjoy!
Frequently asked questions
You don't really need an ice cream maker for this recipe, due to the fact that the base is already very rich and creamy it buys you a little leeway in that regard. However, will it be as good as with an ice cream maker? Probably not, as the ice cream maker helps you to create a nice evenly frozen mixture through the constant movement while freezing.
So my tip for you, if you don't have an ice cream maker, would be to skip adding the caramel sauce at first. Freeze the mixture for a couple of hours, then add it BACK into your blender for another whizz to remove any ice particles. and then swirl in that caramel sauce and freeze until set.
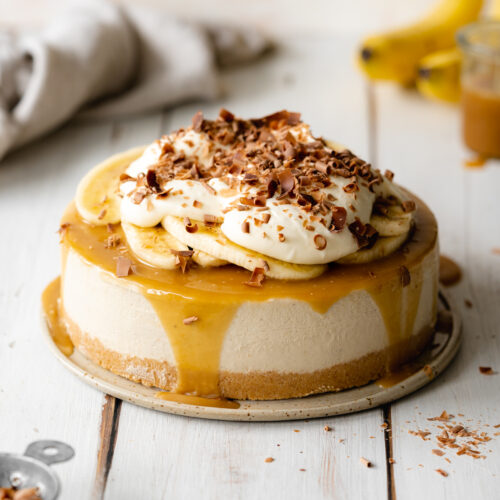
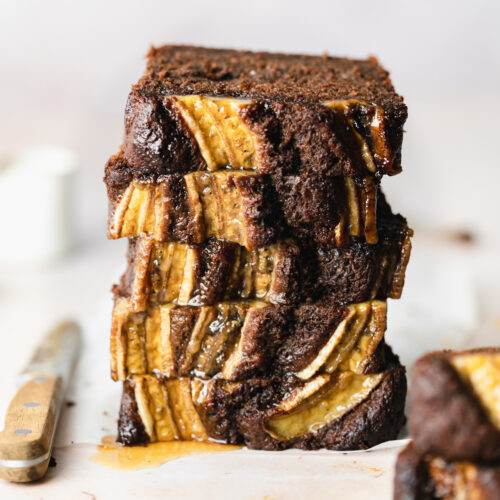
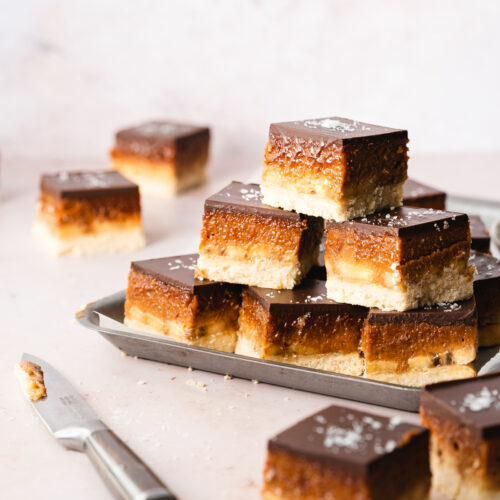
More vegan banana recipes
Love this recipe? Please leave a 5-star ★★★★★ rating in the recipe card below and consider leaving a comment as well, thanks!
Stay in touch with me through social media @ Instagram, Pinterest, TikTok, and Facebook. And if you like one of my recipes, tag me!
Description
Ingredients
- 4 medium ripe bananas
- 1 tablespoon (15 ml) cooking oil of choice, or vegan butter
- 11.25 oz (320 g) Sweetened Condensed Coconut Milk, I use Nature's Charm
- 14 oz (400 g) Coconut Custard, I use Nature's Charm, or homemade custard
- 2 teaspoons (10 ml) vanilla extract
- 7 oz (200 g) Salted Caramel Sauce, I use Nature's Charm
Instructions
- Peel the bananas and slice them into coins.
- Add the oil to a saucepan and place on medium heat. Add in the sliced banana along with about one tablespoon of the sweetened condensed coconut milk. Cook the bananas in the pan for about 3-4 minutes until they are lightly caramelized, make sure to toss them continuously to avoid them burning to the pan.
- Add the caramelized banana, sweetened condensed coconut milk, coconut custard, and vanilla extract to your blender and blitz for a minute or so until smooth.
- Add the mixture to your ice cream maker and churn according to the manufacturers' instructions, mine usually takes about 30-40 minutes.
- Once churned, turn off the machine and gently fold in about two-thirds of the salted caramel coconut sauce.
- Transfer the ice cream mixture to a loaf pan lined with parchment paper and swirl the remaining salted caramel sauce on top. Cover and freeze for a minimum of 2 hours.
- Remove the ice cream from the freezer about 15 minutes before serving to allow it to thaw slightly and enjoy!
Nutrition
© addictedtodates.com. All content and images are protected by copyright. If you want to share this recipe, please do so using the share buttons provided. Do not screenshot or republish the recipe or content in full. instead, include a link to this post for the recipe.
